August 28, 2026 · Hexagon Intergalactic
How to LED map with Filament: from a fresh install to video on your strips
The whole path, start to finish: install the app, draw your strips over a photo, route them to your controller, and play video onto real pixels.
This is the complete path from "just downloaded Filament" to video playing on your actual LEDs. Nothing here requires a license - the trial is the full editor, so you can do every step tonight.
What you need
- LED strips wired to a controller that speaks Art-Net or sACN over the network. A WLED box is the classic case and what I'll use here, but anything that takes either protocol works the same way. (Building a controller from scratch? Here's my 80€ waterproof one.)
- Your computer and the controller on the same network. Wired beats Wi-Fi for a show. For a first test, Wi-Fi is fine.
- Filament, from filament.click/download. macOS, Windows, or Linux. One download for everyone - there's no separate trial installer. The only hard requirement is a working GPU. Filament renders everything on it and won't launch without one.
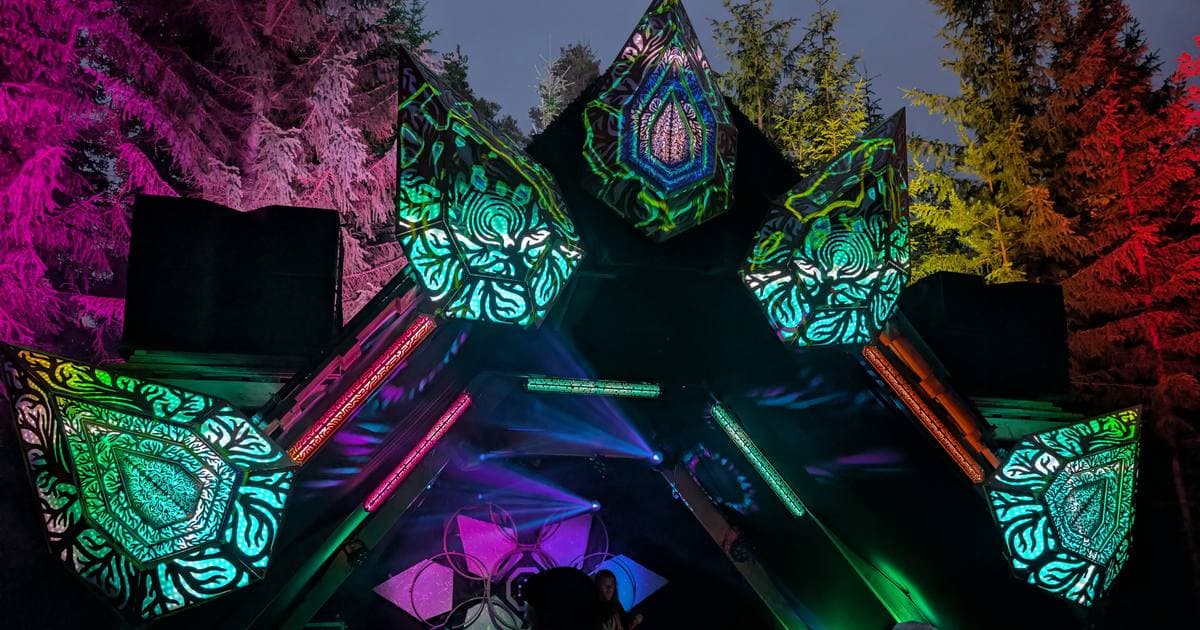
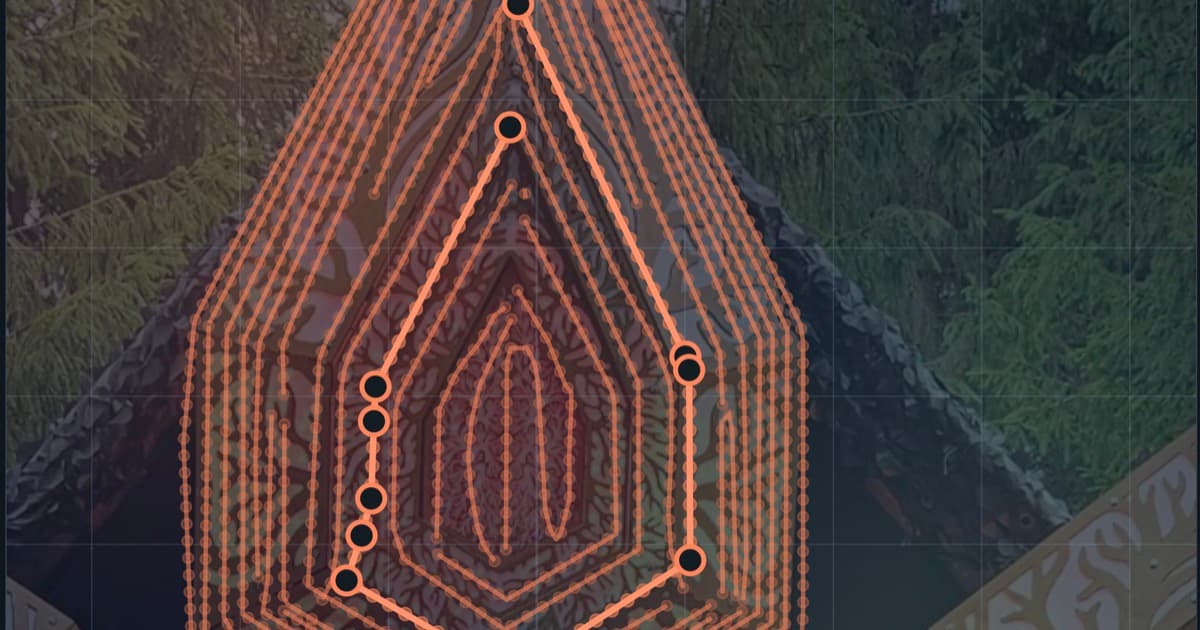
Optional but super useful: a photo of your rig. Take one now, as straight-on as the room allows - perspective is the enemy of easy tracing. If you can, shoot it with the LEDs running a bright color: in festival builds we photograph every artwork with its LEDs on, before the diffusers close everything up, because a photo where you can see the actual pixels is the best tracing background there is. This is usually done in the workshop before we ever set a foot on the festival grounds. The artworks then sit in the Library listing, so we drag the ones present on the stage onto the canvas and resize them to fit the actual stage design.
Step 1 - Create a project
Filament opens on the Library page. Hit New Project, give it a name, and pick a canvas preset - the canvas is your virtual stage, and Square HD (the default) is fine for almost everything. It's a coordinate system, not a render resolution, and you can resize it later.
Hit Create Project and you land on the Canvas.
Step 2 - Load your fixtures
Filament needs to know what kind of pixel sits on your strips before you can place any. Back on the Library page, switch the browser to Fixtures and click Load Presets. That imports the built-in set: WS2812 singles and strips, plus an 8×8 RGB matrix. It covers most rigs in one click.
One thing worth knowing now rather than later: WS2812-family strips are wired GRB, not RGB. The presets already handle this. If your colors come out wrong on the hardware later (red shows green), the fixture's color format is the first thing to check.
Step 3 - Put a photo behind the canvas
On the Canvas tab, find the background controls at the right of the toolbar and upload your rig photo. Set the opacity so it sits behind your work rather than shouting at you.
This is the whole point of Filament: instead of describing your rig in a table of channel numbers, you draw it where it physically is.
Step 4 - Draw your strips
Press P for the draw tool. Click to place anchors along a strip - click and drag if the run curves. Press ENTER or double-click the curve when finished. For organic shapes there's a freehand pen on B: draw the stroke, Filament smooths it into a curve.
Finishing a curve opens the Configure LED Curve dialog. This is where the mapping actually happens:
- Number of LEDs - how many pixels are physically on that run. Shift + arrow steps by 10.
- Fixture - the pixel type from your library.
- DMX start channel - where this run begins. Leave it. You'll pack channels properly in the next step.
The dialog shows you the consequences live (total channels, DMX range, universes touched), and Filament spaces the pixels evenly along the curve. Draw a curve per strip until the photo is traced. Don't aim for perfection: you can move anchors, nudge, duplicate, and flip everything afterwards, and mapping a rig is ten minutes of drawing followed by a while of tidying.
Two tips that save the most time:
- Some controllers dislike a pixel whose three channels straddle a universe boundary. The Keep each LED inside one universe toggle in the same dialog handles it.
- If you've built one wing of a symmetrical rig, select it, Cmd/Ctrl + D to duplicate, then Flip horizontal.
Step 5 - Point it at your controller
Head to the Output tab. Each Surface in your project is one controller's worth of output, and each gets:
- Protocol - Art-Net or sACN, whichever your controller listens for. (On a WLED box: Config → Sync Interfaces, turn on receiving under Realtime (pick Art-Net or E1.31, which is sACN), and note the start universe.)
- Target IP - the controller's address. For Art-Net you can also hit Refresh in the discovery panel. Nodes on the network show up as cards and Select fills the details in for you.
- Universe and Start channel - where this Surface's channel space begins.
The Channel maps section shows the result - every universe, every channel, and once you're live, the value each channel is sending right now. If anything overlaps, you get a conflict list. Click a row and Filament selects the culprits, expands the right universe map, and scrolls you to them.
Step 6 - Prove the wiring
Before playing content, test the real strips. In Testing & preflight, run an Output test on your Surface - the Identify / Flash pattern is built for exactly this moment. It routes through the same transport as live output, so if the test lights your strips, the show will too.
If nothing lights up, check the controller's universe and the IP, and check you're on the interface you think you are. The Output transport section shows which network interface Filament is actually sending from, with per-output diagnostics and packet counters.
A workflow tip from the field: I map over Wi-Fi on purpose, walking around the rig with the laptop, tracing and flashing strips from wherever I can see them best. Then I plug into the wired network to actually run the show. Wi-Fi for the walkabout and mapping, ethernet for the show night.
Step 7 - Play something
Go to the Player tab. It's a clip grid. Layers stack on top of each other, columns hold looks, and the drawer on the right edge holds your content.
Open the Animations tab of the drawer, drag any animation onto a cell in the top layer, click the cell, and press Space.
Your LEDs are on.
Every built-in animation is palette-aware: click a different palette chip in the panel below the grid and the whole look re-tints instantly. The preview column on the left shows exactly what the LEDs are getting - it's fed by the same renderer that drives the output, not an approximation.
Step 8 - Now the video
Filament plays video files onto your mapped LEDs like any other clip.
First, tell it where your videos live: in the drawer's Video clips tab, hit Add folder and pick a folder. Filament watches it from then on - anything you drop in shows up in the library.
Drag a video onto a cell and cue it. That's it - video on LEDs. A 4K file onto thirty pixels is legal and looks better than you'd expect: each LED samples its own patch of the frame, so motion and color sweep across the physical strips the way they sweep across the picture.
The part a pixel-pattern tool can't do is what comes next. Put the video on one layer and an animation on the layer below. Lower the video layer's opacity, set its blend mode to Add, and the two blend on your strips - a slow wash underneath, something bright punching through on top.
Where to go next
From here it branches:
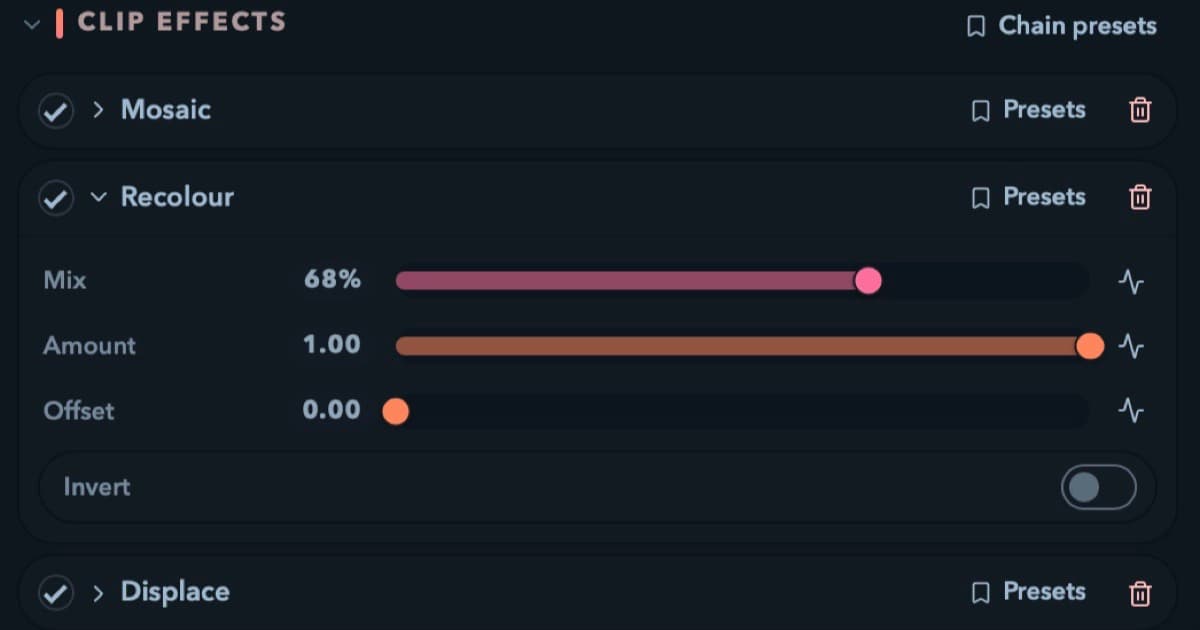
- Effects - thirty GPU effects, stackable in chains on any clip, layer, or the master output.
- Audio reactivity - any parameter can follow a band of your live audio input.
- MIDI - click a control, move a knob, bound.
- The Timeline - compose a show that runs itself, identically, every night.
Try the whole thing
Everything above works on the trial: no signup, no time limit, full editor. The trial blocks export, watermarks video output, and disrupts the live output roughly every 20 seconds - enough to prove your whole rig and get a real feel for the tool on your own hardware.
Also, if you are just starting out with VJing, until you actually run LED or projector outputs, you won't even notice you're on trial mode. You can use it as long as you like to learn. Everything in this article works in the free trial. The only things you can't do are export or run a clean, uninterrupted output - those need a license.
If it earns a place in your setup, the rest is at filament.click.
tutorial · led-mapping · wled